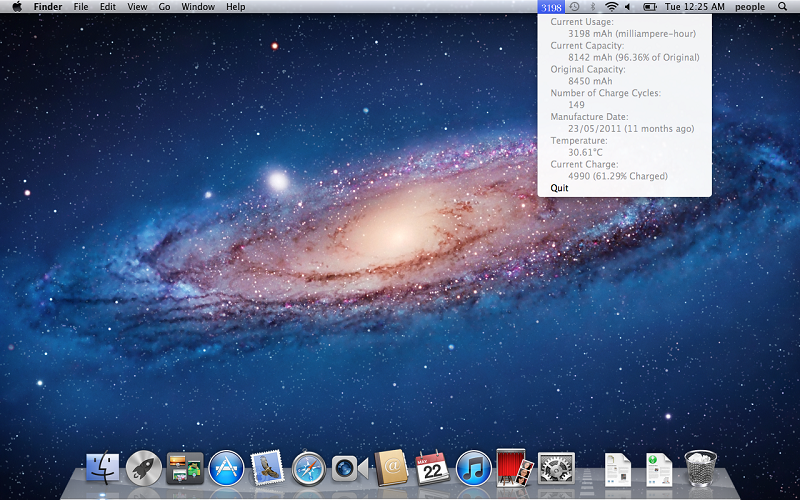
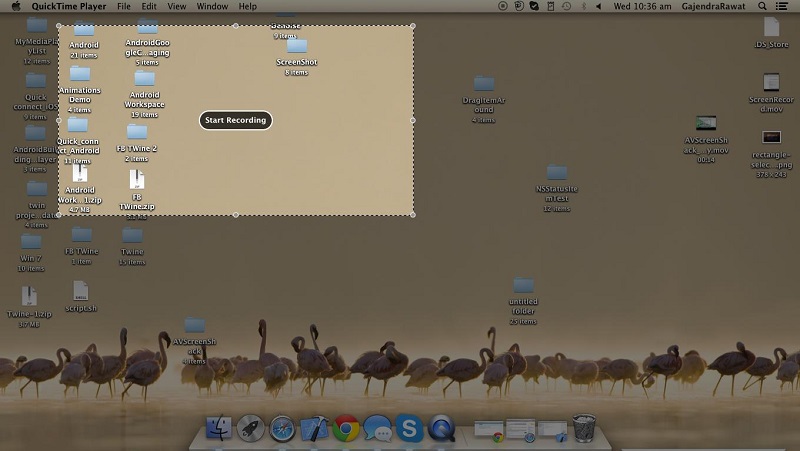
Owning a MacBook is a matter of pride for most people. In fact, those who own one, love to flaunt it! And what better way of showing off the software of your snazzy laptop other than taking a screenshot. Now I know, the very utterance of the word screenshot might cause confusion in the minds of those who aren’t so technically inclined, so let me first explain what a screenshot actually is.
We all know and love selfies, right? Well, consider a screenshot as a selfie, but from the perspective of your Macbook. Your laptop has the ability to take a picture of what is going on in its screen at any given moment, and this picture is what we call a screenshot! So now that you have an idea what a screenshot is, let’s figure out how to screenshot on a mac.
How to Screen Shot on A Mac?
Screenshots are very useful nowadays. Screenshots can be used to make people understand something better, or it can be used as evidence or memory as well. Here we have discussed how to take a screenshot on a Macbook.
#1. How To Take Screenshot of The Whole Screen of Mac?

Share with your friends your high score of any game you play. How do you tell them usually? Send them screenshots instead of calling them. If you want to take a screenshot of the whole screen of your Mac, you have to follow the following steps given below:
Step 1
At first, you have to open or go to the page on your Mac you want to take the screenshot. Check whether your screen has all those things you want to take the screenshot.
Step 2
Then press the keys Command key and Shift key and three key all together at the same time.
Step 3
A camera would click the sound, and the screenshot will be taken. You can find it on your desktop in .png format, with this type of title Screen Shot [Date AND Time].
Step 4
You have to double click on the screenshot in order to open or view it, and you can share it with the Preview option. You may also right-click on it and choose Open With the option, or drag and drop it, to open and share it with any other app.
#2. How To Take a Screenshot of part of your screen of Mac?

Sometimes taking the screenshot of the whole screen is not a good idea at all. No problem, print a part of your screen this way,
Step 1.
Press the Command key and Shift key and 4 together. The pointer will be changed into a crosshair pointer.
Step 2.
Then move the crosshair pointer to the portion where you want to start the screenshot.
Step 3.
Then drag it to select an area. When you are dragging, you can hold the Shift key or Space bar in order to change the way the selection moves.
Step 4.
Once you have selected the area you want to pick, release your mouse or trackpad button. If you want to cancel, press the Escape (Esc) key before you release the button of mouse or trackpad.
Step 5.
You will get the screenshot as a .png file on your desktop.
#3. How To Take A Screenshot of A Menu?

Do you want to take only the screenshot of the menu? Here are the ways shortlisted for you.
Step 1.
At first, click on the menu button and open the menus you want to take the screenshot of which. Check whether your menu contains all the parts you want to keep in the screenshot.
Step 2.
After that press on the Command key, Shift key, and 4 key all together. The pointer will change into a crosshair pointer.
Step 3.
You have to drag it in order to select the menu.
Step 4.
Now release your mouse or trackpad button. If you think you do not need the screenshot; in order to cancel it, press the Escape (Esc) key before you release the button of mouse or trackpad.
Step 5.
You can find the screenshot as a .png file on your desktop.
#4. How To Take a Screenshot of A Menu Without The Title?
Step 1.
First, click on the menu to open and get the appropriate content. Check whether your menu contains all the parts you want to keep in the screenshot.
Step 2.
Next, press the Command key and Shift key and 4 key all together at the same time. The pointer will be changed into a crosshair pointer.
Step 3.
Then press the Space bar. It will change the pointer into a camera pointer.
Step 4.
Now move the camera pointer over the menu to highlight it.
Step 5.
After that, click your mouse or trackpad. If you feel like canceling it, press the Escape (Esc) key before you click the mouse or trackpad.
Step 6.
You will get the screenshot as a .png file on your desktop.
#5. How To Take A Screenshot of A Window?
For the windows, the processes are the same as taking screenshots of a menu without the title. They are –
Step 1.
First, press Command key and shift key and 4 together. The pointer will be changed into a crosshair pointer.
Step 2.
Now press the Space bar. It will make the pointer be changed into a camera pointer.
Step 3.
Then move the camera pointer over a window to make it highlighted.
Step 4.
After this, click on your mouse or trackpad. If you want to cancel it, press the Escape (Esc) key before you click the mouse or trackpad.
Step 5.
You can find the screenshot as a .png file on your desktop.
We hope that this article has helped you in your quest about taking screenshot on a Mac.
Moreover, if you are left with any kind of feedback or query, then do let us know by dropping a line in the comments section right below. We would love to hear from you about your thoughts on how to screenshot on a Mac Share this article on your social media if you find this article helpful.
