Snapchat is clearly the next big thing in the world of Social media platforms. It is definitely paving its way through the means of videos and snaps.
The feature that embellishes the platform, even more, is the Snapchat special effects or Snapchat filter effects.
So, you must be wondering how to use effects for Snapchat? In this article, we will tell you how to use Snapchat effects?
How to use Snapchat effects?
Snapchat offers many effects which one can use to enhance the snaps. Let’s see how to do Snapchat effects.
Since there are multiple effects so, for the ease of convenience we have divided the article into multiple sections.
In the firsts section, we will see how to get effects on Snapchat?
Section 1:
To apply face effects such as face swapping, animal faces, character transformations Snapchat makes use of lenses. Lenses are nothing but particular virtual effects that are used during the recording of the snap.
It is applied by the means of Face detection in real time that is one can watch his/her actions while the effects are being implemented simultaneously.
You may have to go through your device details as the lenses feature of Snapchat may not be available for old devices. For Android users, you must be equipped with Android 4.3 or higher to avail this feature of Snapchat.
Also, you must ensure that you are having the latest version of Snapchat on your device. Now, we will see how you can use the lenses feature. So, let’s get started:
Step #1: First of all, you will have to open the Snapchat application on your device.
Once you have opened the device, then you now need to navigate to the selfie mode.
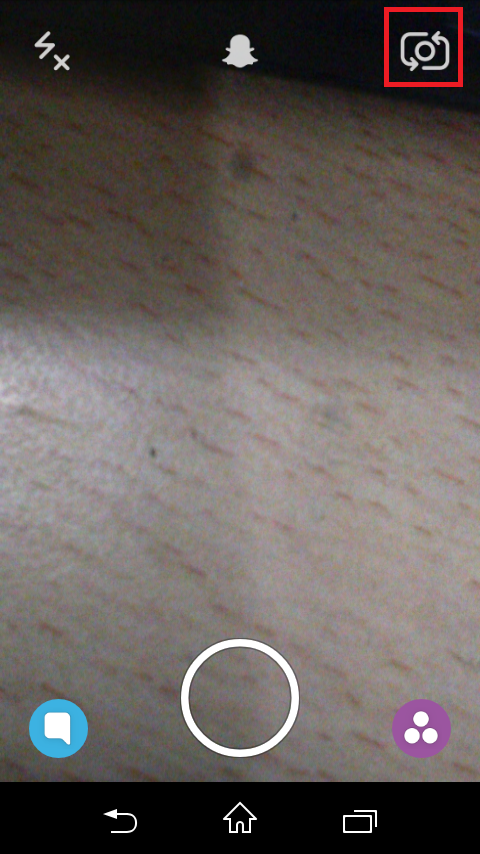
Step #2: Now, position your device in such a manner that the whole of your face is visible on the device screen. This is important because Lenses makes use of the Face detection feature.
Also, make sure that you have proper lighting conditions failing which you may not have the desired results. Sorry, for the bad image quality over here.
Step #3: Once you are done with the mentioned then now, you are required to press and hold the screen till the geometric shape on your device gets completed. Once your face scan is completed then now you will be provided with various lenses.
To choose the lenses, you will have to swipe left and right. Some of the very famous lenses are “Puking Rainbows”, “Zombie” and others. You can choose either one of these. However, you may see different lenses every day. It is because Snapchat jumbles the lenses in a day or so.
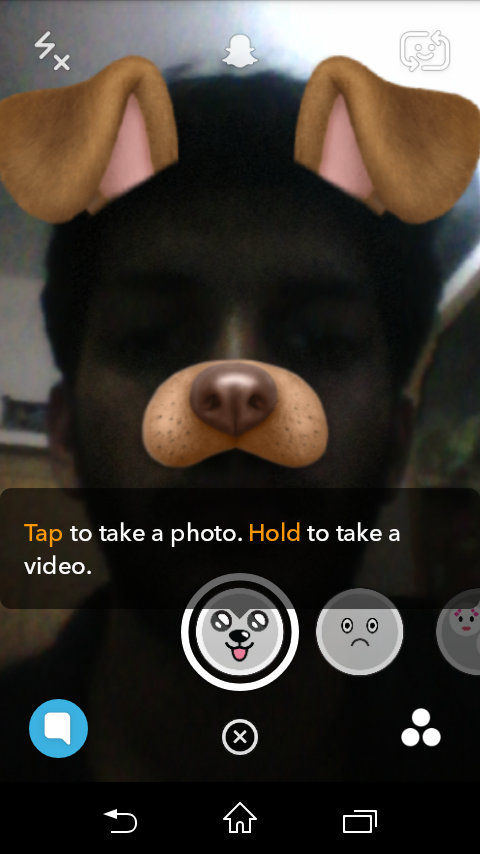
Step #4: Now, to apply the selected lens, you may need to follow the onscreen instructions. Like for instance, while using the “Puking Rainbow” effect, you are required to open your mouth wide so that the effect can take place.
Step #5: The moment you are ready then you can now start recording your snap. After recording the snap, you can send it to your recipients.
Section 2:
This section is concerned around “How to use Snapchat filter effects?”
At the first step, you need to understand what a Snapchat filter does? Snapchat filters add effects to the snaps once they have been recorded or snapped. On a lighter note, they are very much similar to the garnishing done to the dishes once they are ready for being served.
To enable filters on your Snapchat, kindly follow the following route. Just tap the Ghost icon which is the official mascot of Snapchat. After this, you are required to tap the gear icon which resembles settings.
From the subsequent window, you now need to select “manage” and then toggle the filters switch on.
Now, once you are done with the prerequisites of adding a filter then let’s get started with the process:
Step #1: Simply record a snap or capture a picture.
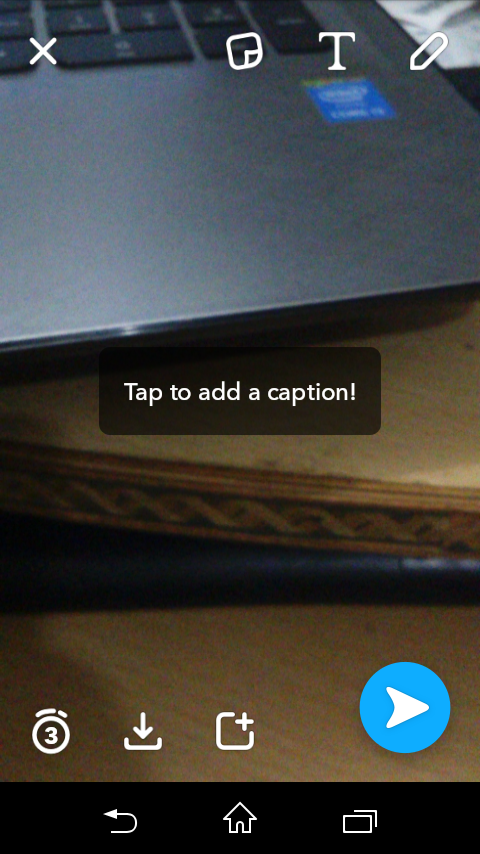
Step #2: Now, in order to add a filter to your snap, all that you require doing is to swipe left and right for choosing different filters.
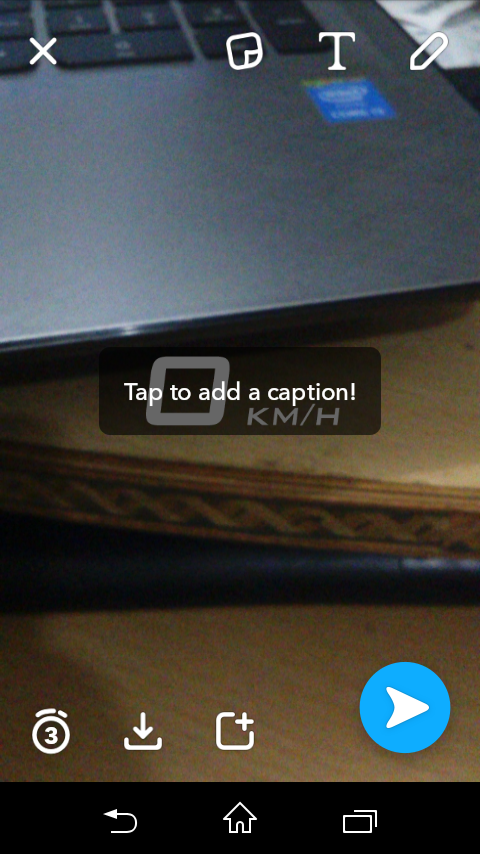
Here are some of the different filters which we got by swiping left and right.
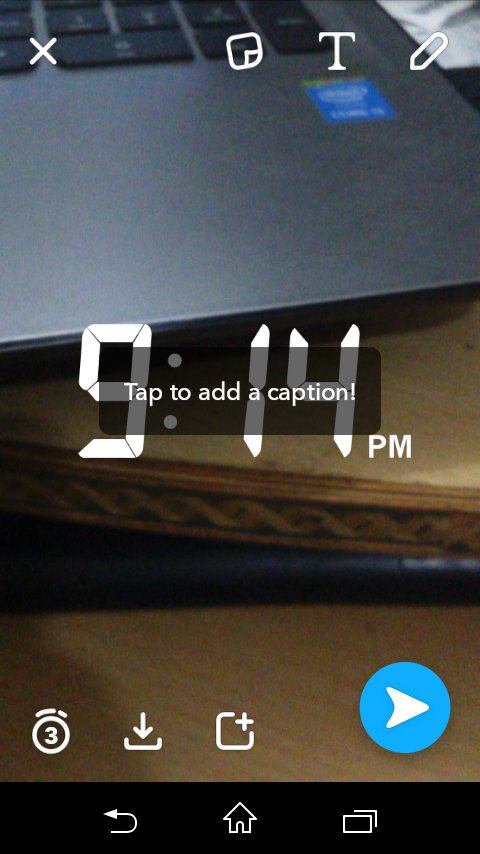
Here is one another:
Kindly take note that, you won’t be able to add filters to your snaps if location services are not enabled on your devices.
To enable location services on Android device, you will have to open the Settings application and then navigate to the location and the turn on the location services which is positioned at the top of the window.
For iOS devices, you are required to launch the settings app and then navigate to the “Privacy” option and after that location services. Once you are at the location services menu, then you will have to toggle the location option to on mode.
This way, you can easily enable location services on your device.
Step #3: You can choose from a variety of filters, such as “Geo-Filter”, “Video-Only filter”, “Data Filter”, and “Color filter”. You can add more than one filter to your snaps. To be more exact with the data, you can add up to 3 filters on your pictures while up to 5 filters on videos.
Additionally, if you want to add text-based filters, then you can also do the same by just typing the text which you want to put on the video or picture. For this, you will have to tap on the photo or video. After this, you will have to type in the text which you want to display.
Once you have completed the text then now all that you require doing is to tap on “Done.” This will automatically add the text to the middle of your post.
Further Read:
- How To Add People On Snapchat?
- How to Delete Snapchat Account?
- How to unblock someone on Snapchat?
Conclusion
So, this was all about “How to use Snapchat effects?” We hope that after going through this article on “how to do effects on Snapchat?” you will be able to make use of ” New Snapchat effects“.
If you find the article worthy enough then do not miss to hit the share button. Moreover, if you know anything apart from the information mentioned over here about Snapchat add ons then do let us know through the comments section. We would love to hear from you.
Thank you for visiting.